sides

I am always trying to incorporate more vegetables into my diet, especially this time of year.

I’ve learned that broccoli rabe is a somewhat polarizing food. I remember being surprised by its bitter taste as a child (my Uncle Albert had it around all the time). My mom assured me that “it’s an acquired taste” and thereafter, wanting to acquire every taste, I grew to love it.

These days, my boyfriend and I eat broccoli rabe once or twice a week — it finds its way onto our pizzas, into our pastas, on toast, as a side to meat, poultry, fish, and even for breakfast with eggs. When we’re out of rabe, we know it’s time to go grocery shopping. 

This is the cooking technique that we use. It is simple, versatile and ready in minutes, making it the perfect starting point for any broccoli rabe journey that you wish to embark on. Quick-blanching the rabe releases some of its famous bitterness.

Toss it with some lemon for a delicious side, add it to pasta, or top off a slice of crusty bread and ricotta with some rabe and you are set. The possibilities are endless!

Serves 2-3

ingredients

  • 1 bunch broccoli rabe
  • 1 tablespoon olive oil
  • 1 garlic clove or shallot, sliced
  • Salt and pepper to taste

steps

Fill a teapot or kettle with water and bring to a boil.

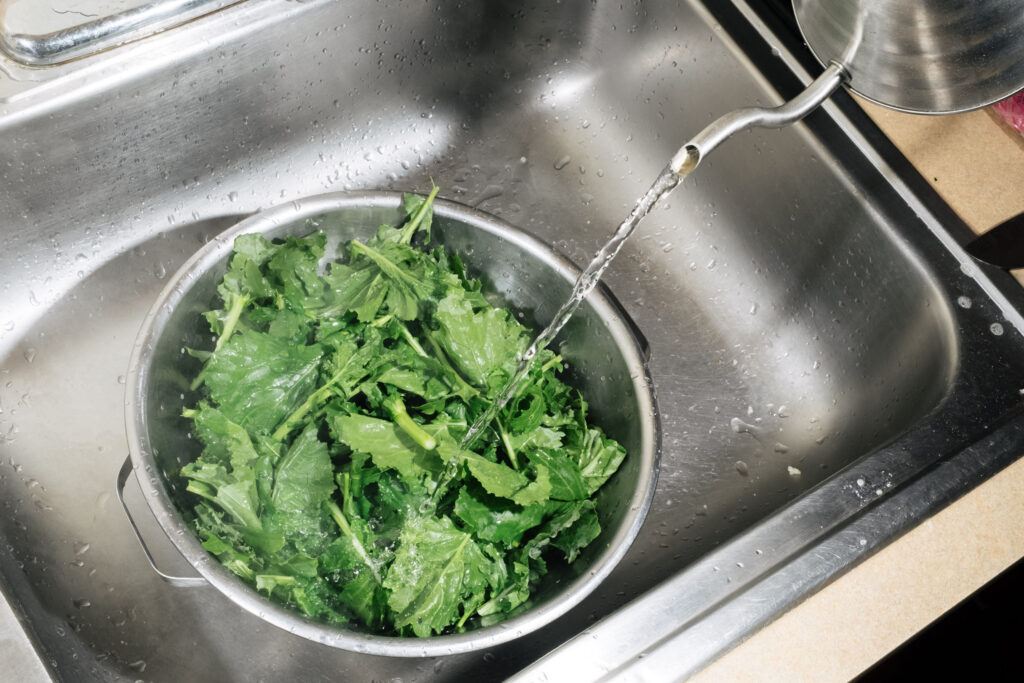
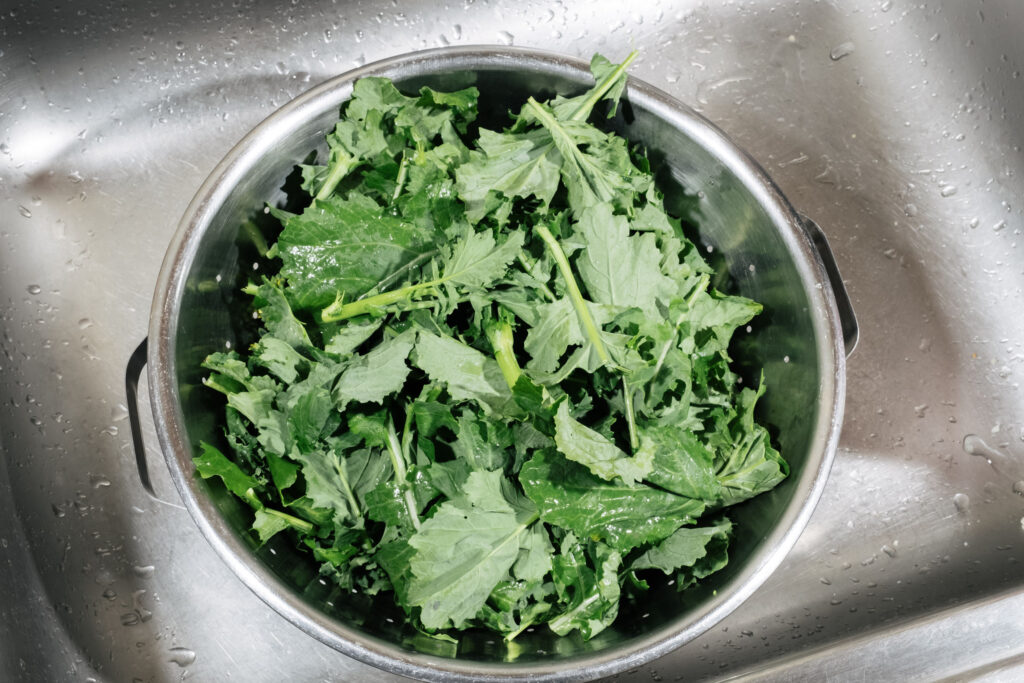
Trim the ends off of the broccoli rabe and discard. Roughly chop the remaining stems and leaves and place in a colander in the sink.

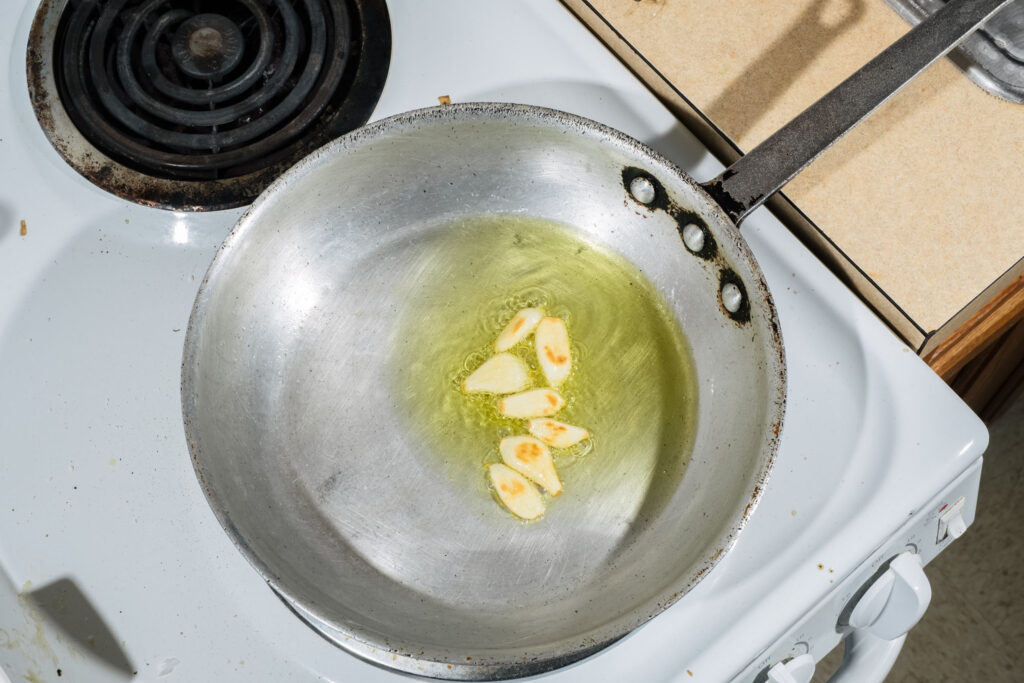
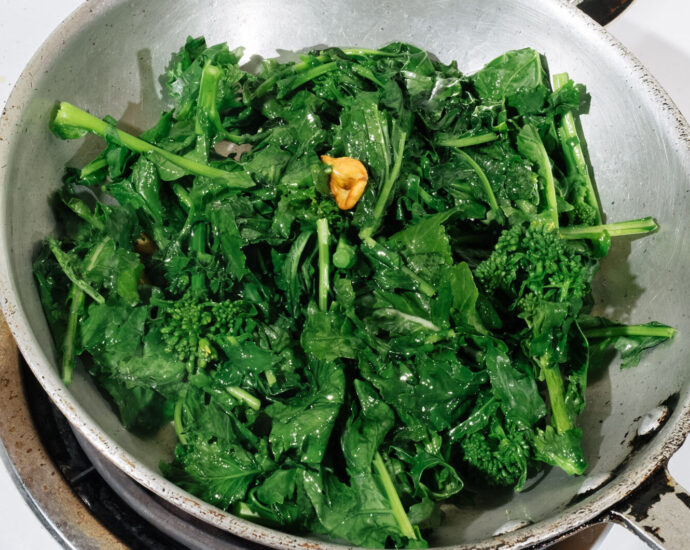
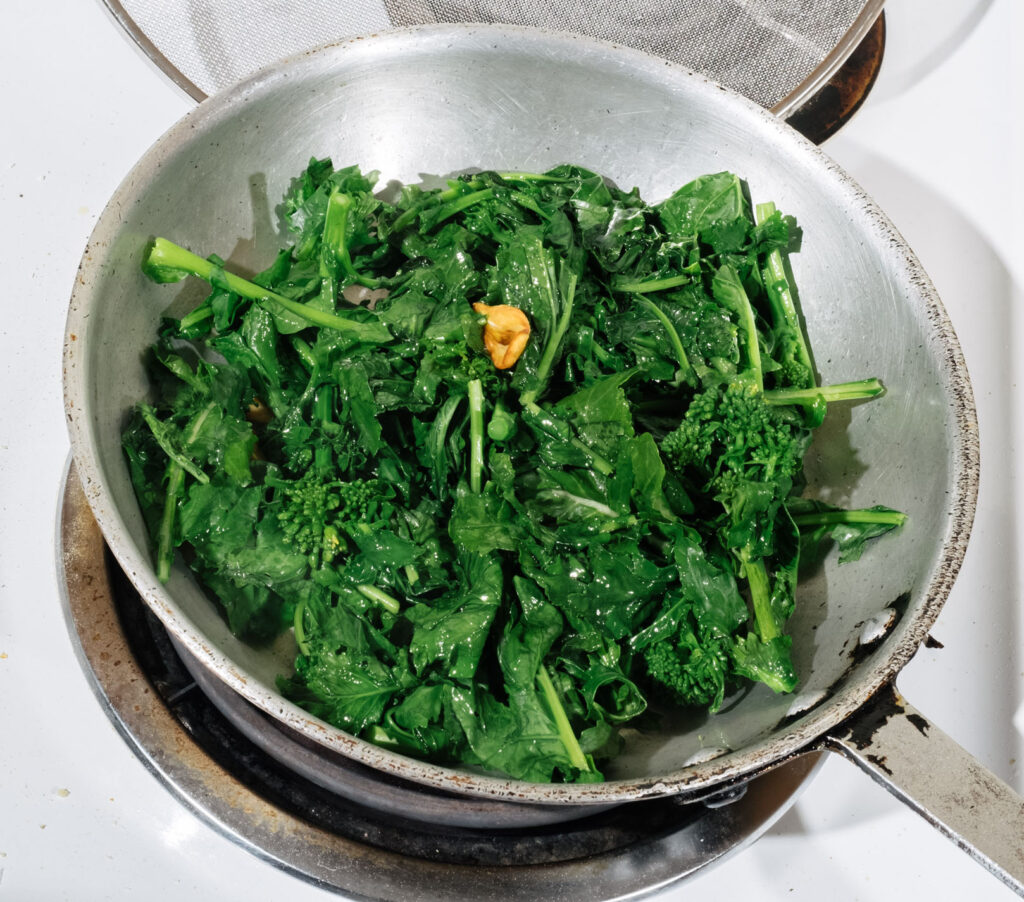
Meanwhile, heat 1 tablespoon of olive oil in a pan and add the garlic, salt, and pepper.

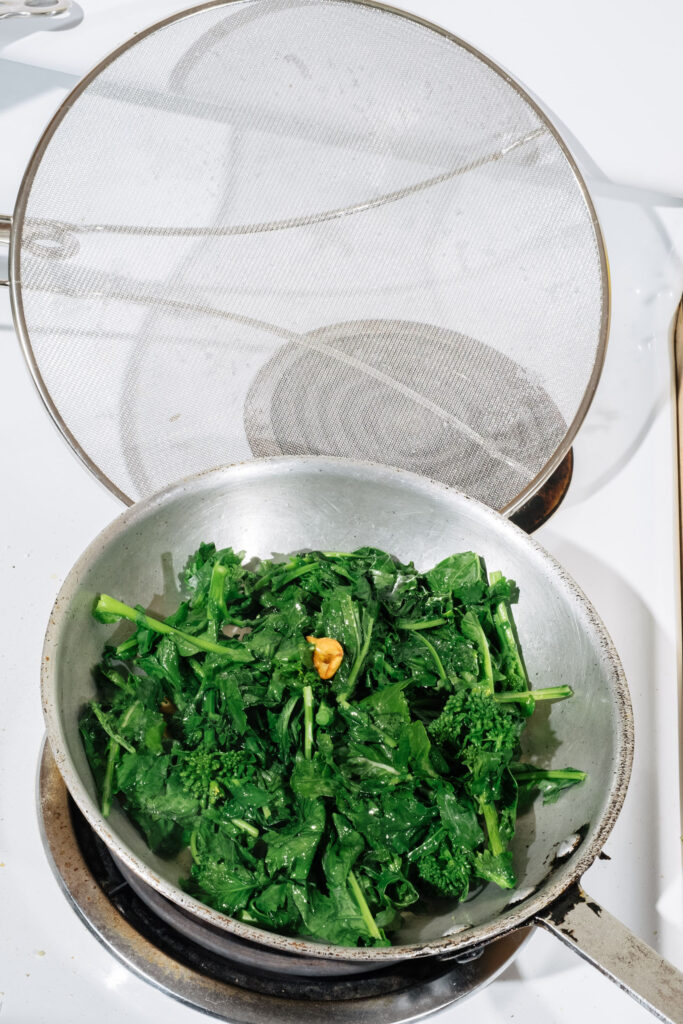
Pour boiling water over broccoli rabe in a colander and allow to strain then immediately add to pan with shallot. Cook uncovered until it softens, about 5 minutes.

I almost always have carrots around. They are tasty and inexpensive and super versatile. In high school, I used to eat them at swim meets for a boost of natural sugar. Now I’ll have them raw with smoked salt or roasted with tahini, quick-pickled, in my dad’s carrot slaw, or as a stew or soup base in a mirepoix. And then, of course, there’s carrot cake. Here, I present maple candied carrot confit.

I love making carrot confit because it’s so straightforward and very low-maintenance. Just throw your pan in the oven, let the carrots cook slowly, and be amazed at their candy metamorphosis into maple candied carrot confit. Don’t forget to mix them every now and then!

Serves 2-4

ingredients

  • 2 pounds of carrots, grated and diagonally sliced
  • 4 tablespoons butter
  • 4 tablespoons real maple syrup
  • 1 teaspoon kosher salt
  • ½ teaspoon pepper
  • ½ teaspoon garlic powder
  • ½ teaspoon smoked paprika
  • 1 teaspoon orange zest

steps

Preheat the oven to 275°F. Melt the butter in a small saucepan. Add the maple syrup and stir until combined.

Place the carrots in pan and sprinkle salt, pepper, garlic powder, smoked paprika and orange zest over the top. Evenly pour the maple butter over the top of the carrots and mix using a rubber spatula. Shake the pan so that the carrots evenly cover the bottom of it.

Bake for 3 hours until the carrots are soft.

Today we composted the outdoor gardens in preparation for the cold months ahead. Our community composts regularly and it is always incredible to see how food scraps and everyday waste are turned into nutrients for nature. Preparing for winter left me yearning for one of my favorite cozy dishes – cheesy stuffed artichokes.

I grew up eating this veggie, and though their season is at its peak in March, artichokes are basically available year-round these days. Cheesy stuffed artichokes became a family favorite of mine, as they always seemed so special whenever my parents served it. The recipe is, in fact, pretty simple.

I prepared this recipe for two, with a date in mind, but it can easily be doubled or tripled depending on the number of people you want to feed. Serve these cheesy stuffed artichokes as a side to a simple lemon pasta or as the main event with a glass of wine!

Note: If you only have plain breadcrumbs, you can season them at home with salt, pepper, garlic powder, onion powder, dried oregano, dried parsley, and crushed red pepper!

Serves 2

ingredients

  • 4 artichokes (I prefer artichokes with larger leaves as there is more room to stuff!)
  • 1 lemon, sliced
  • 4 teaspoons olive oil
  • 1 cup seasoned breadcrumbs
  • 1 cup shredded mozzarella

steps

Turn the oven broiler on. Wash the artichokes, cut their stems to make flat bottoms, and snip the tops of artichoke leaves (they can be very sharp!)  Pull back the leaves to loosen them.

Bring a pot of water to a boil. Place a steamer basket or a colander inside. Lay slices of lemon directly on the steamer basket or colander and place artichokes directly on the lemon slices. Cover with a lid and steam for 20 minutes.

Remove the artichokes from the pot and let cool for 5 minutes or until they are cool enough to the touch without burning your fingers!

Place the steamed lemon slices beneath the artichokes on a pan lined with parchment paper. Separate the artichoke leaves and drizzle olive oil inside. Fill the leaves with seasoned breadcrumbs first, then tuck mozzarella inside the leaves. Be sure to evenly distribute the breadcrumbs and mozzarella among every leaf to ensure every bite is tasty!

Place in the broiler for 7-10 minutes until cheese is bubbly and browning and leaves are crisp.

Use a scissor to trim the sharp leaves
Spread apart the leaves to fill with delicious breadcrumbs and cheese
When eating, work your way in from the outer leaves