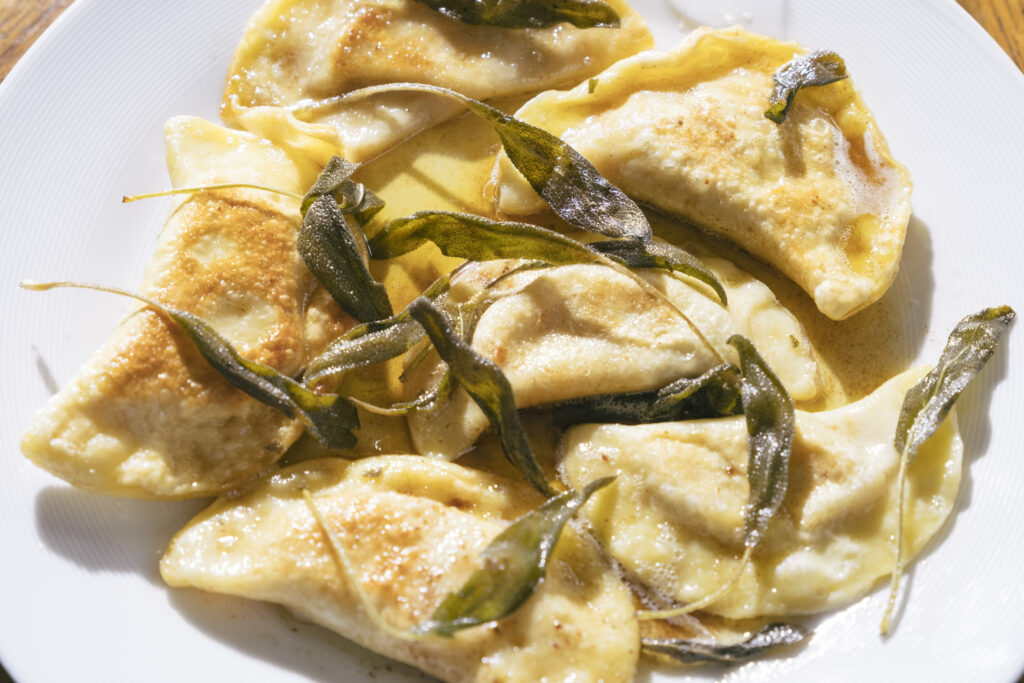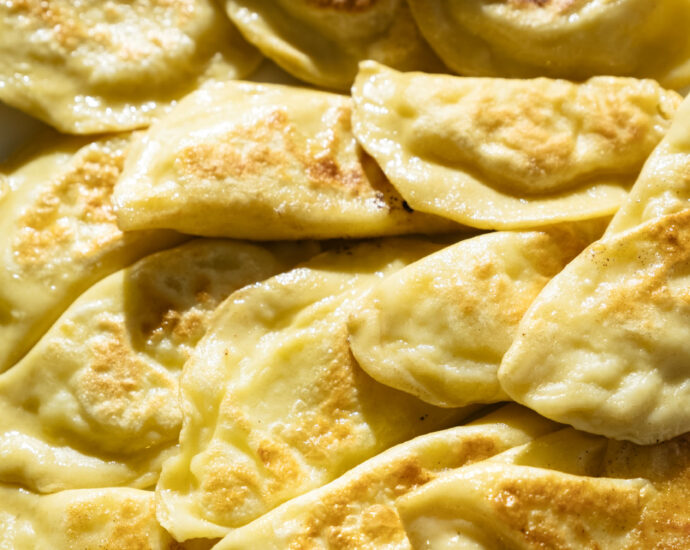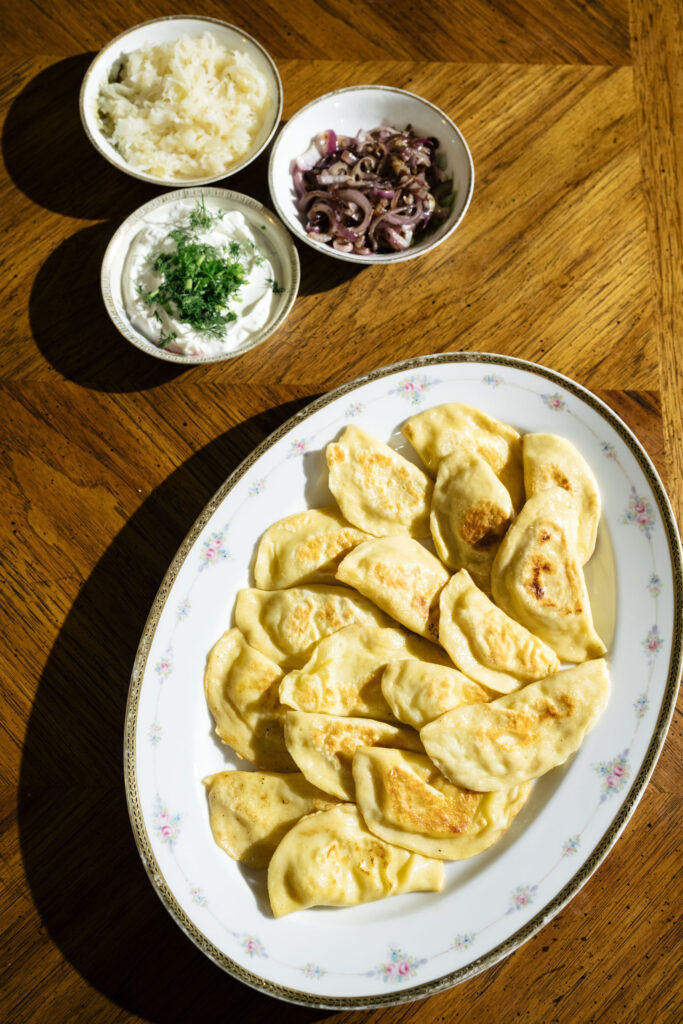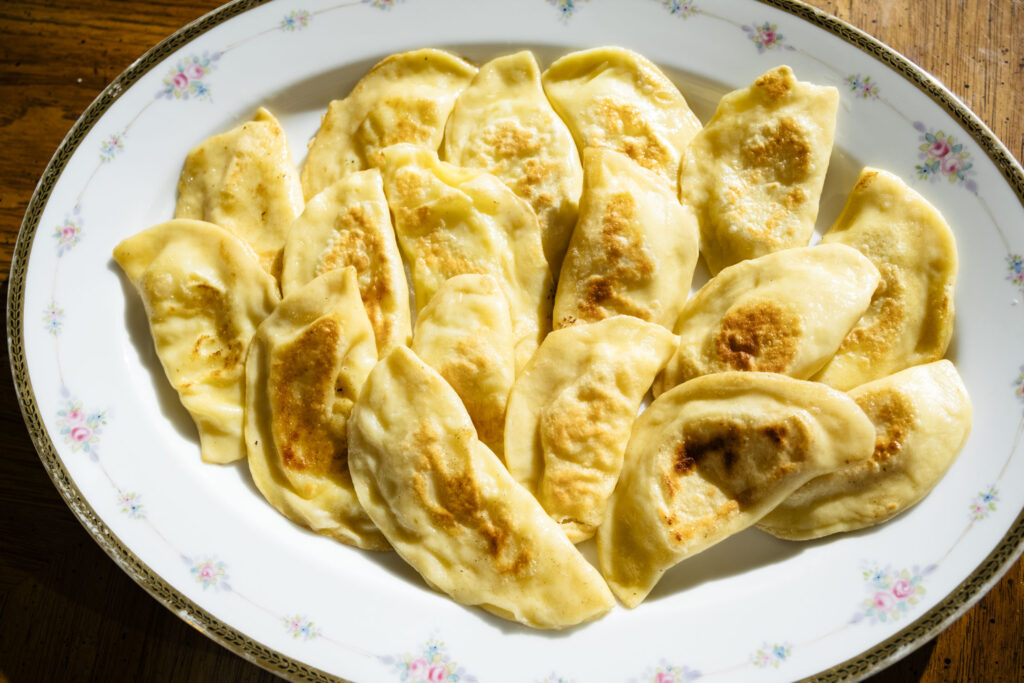
sweet potato pierogies
Happy Autumnal Equinox 2021! The leaves have begun to change and fall and the crunch heard when walking on the ground is the ultimate sign that fall has arrived. Celebrate the arrival of autumn by cooking up a batch of sweet potato pierogies!
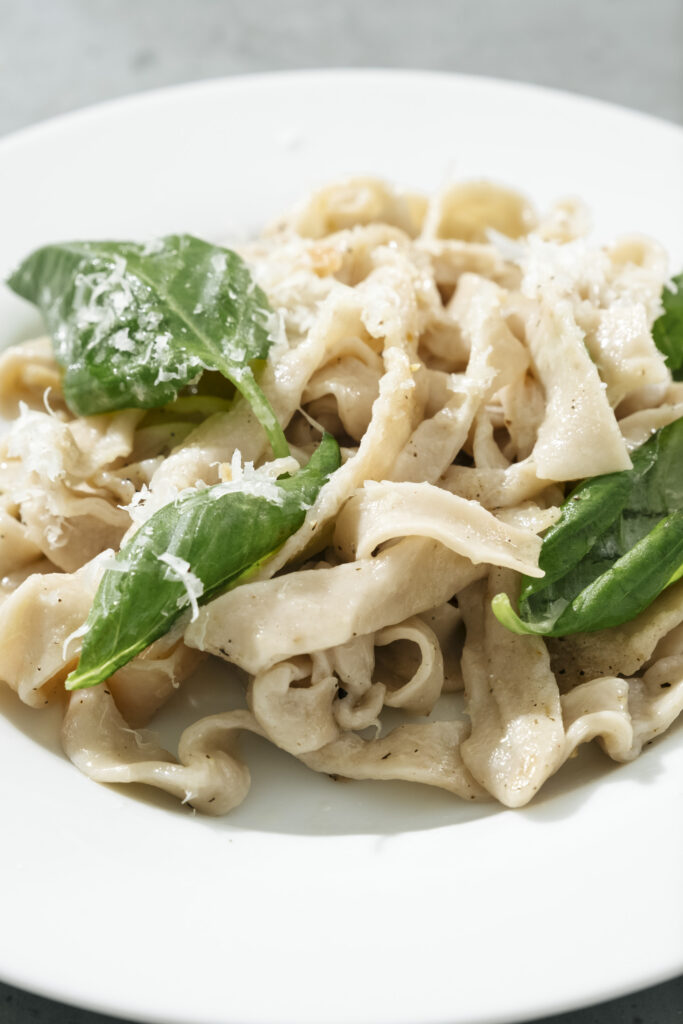
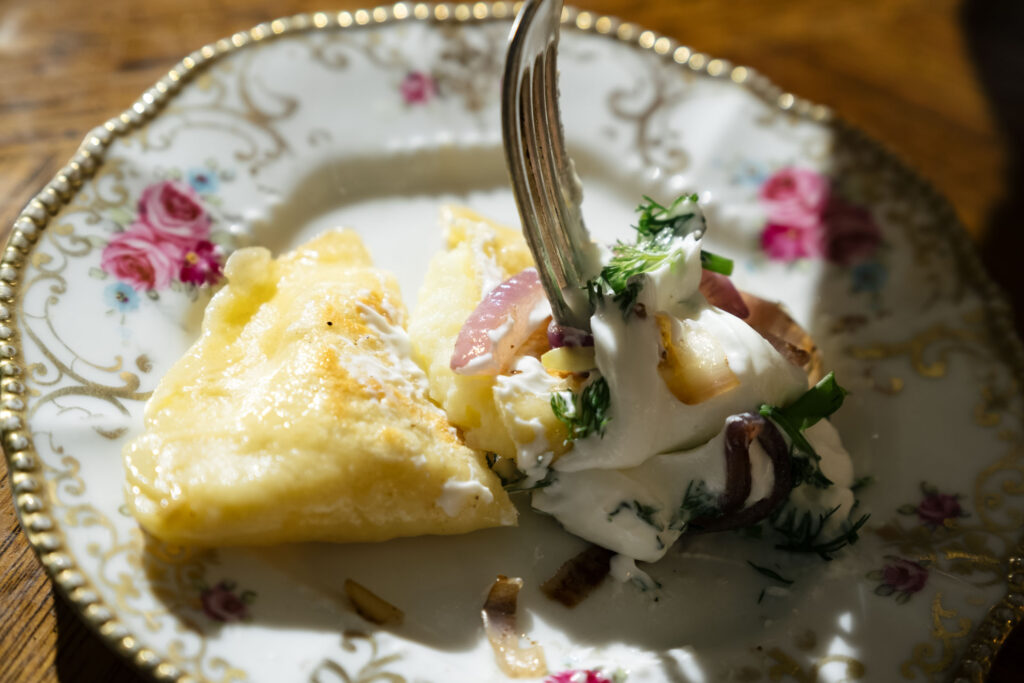
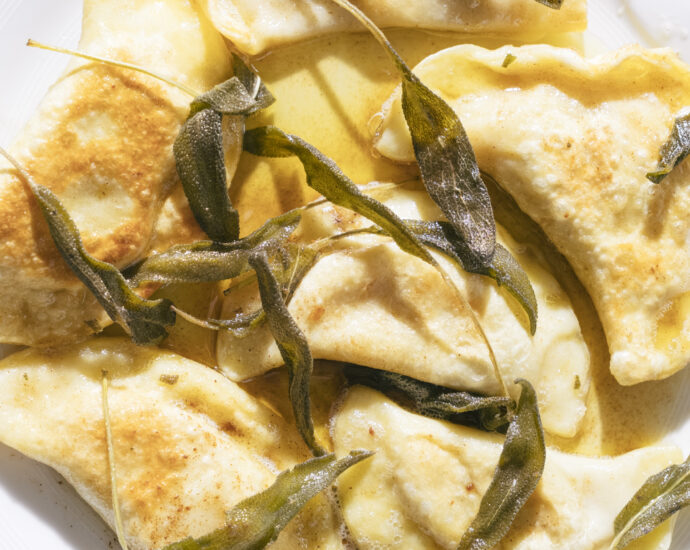
Cooking these sweet potato pierogies in a brown butter sage sauce enhances the flavor of the sweet potato and the combined aroma evokes the optimum fall ambience. Sweet potato, butternut squash, or acorn squash and sage is the ultimate fall flavor pairing. When cooked in the butter sauce, the sage leaves crisp up in a way that is reminiscent of the crisp leaves falling from the trees. How much more autumnal can you get?
I love to whip up sweet potato pierogies with brown butter sage sauce when I am feeling festive and in the mood for fall. Once boiled, the sweet potato pierogies can be placed in plastic sandwich bags and frozen for up to 6 months!
serves 4
ingredients
for the dough
- 1 cups flour
- 1 egg
- ¼ teaspoon salt
- 3 tablespoons water
- Extra flour for rolling out dough
for the filling
- 1 medium sweet potato
- ½ teaspoon salt
- ½ teaspoon freshly cracked black pepper
for the sauce + assembly
- 1 stick butter
- 12 sage leaves
filling steps
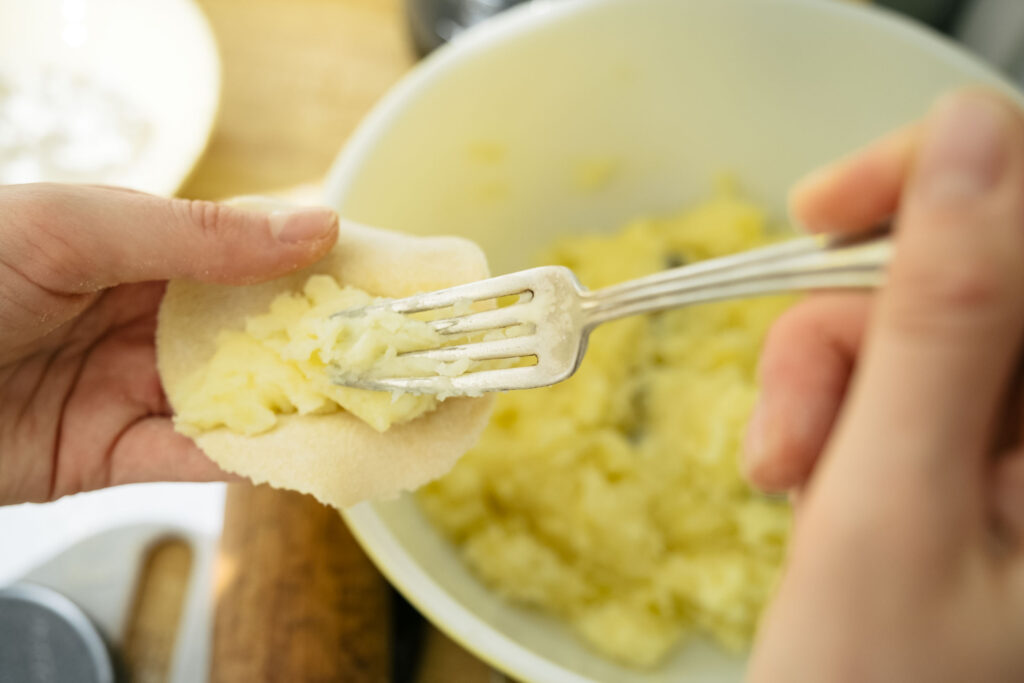
Preheat the oven to 350°F. Prick the sweet potatoes on all sides with a fork to allow steam to escape while they bake. Place the potatoes in the oven and bake until soft, about 25-30 minutes. Remove from the oven and allow to cool, then scrape the orange insides away from the skin. Discard the skins and add the salt and pepper to the sweet potato, then mash and mix with a fork.
dough steps
Place the flour, eggs, and salt in the bowl of a stand mixer with the dough hook or a large bowl if you prefer to knead by hand. Add 5 tablespoons of water and knead the dough until blisters appear. The dough should be soft and not too sticky.
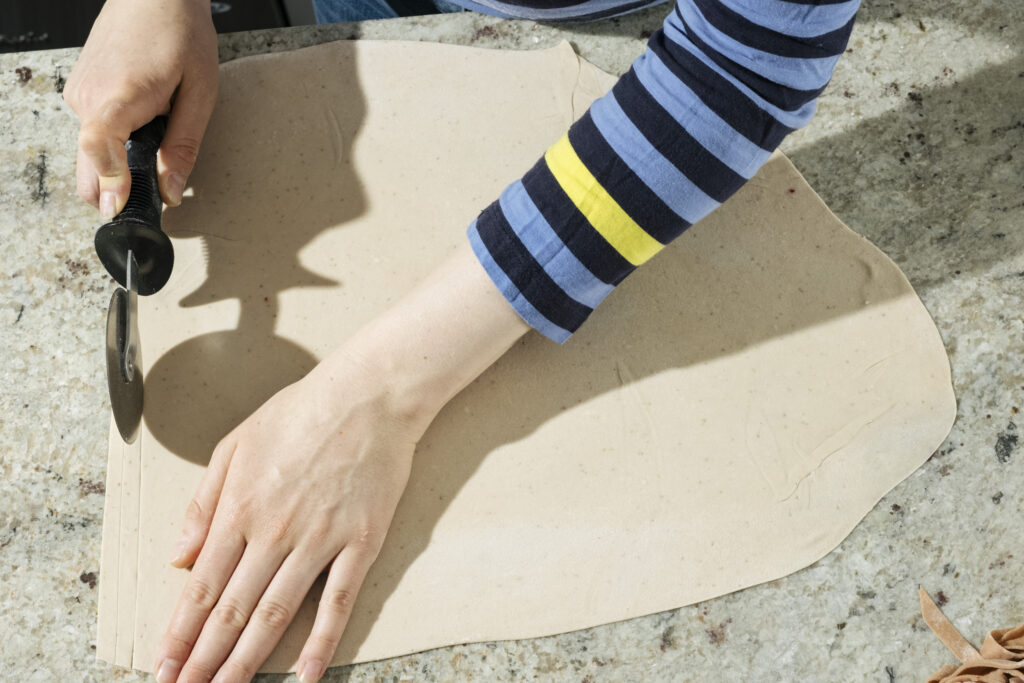
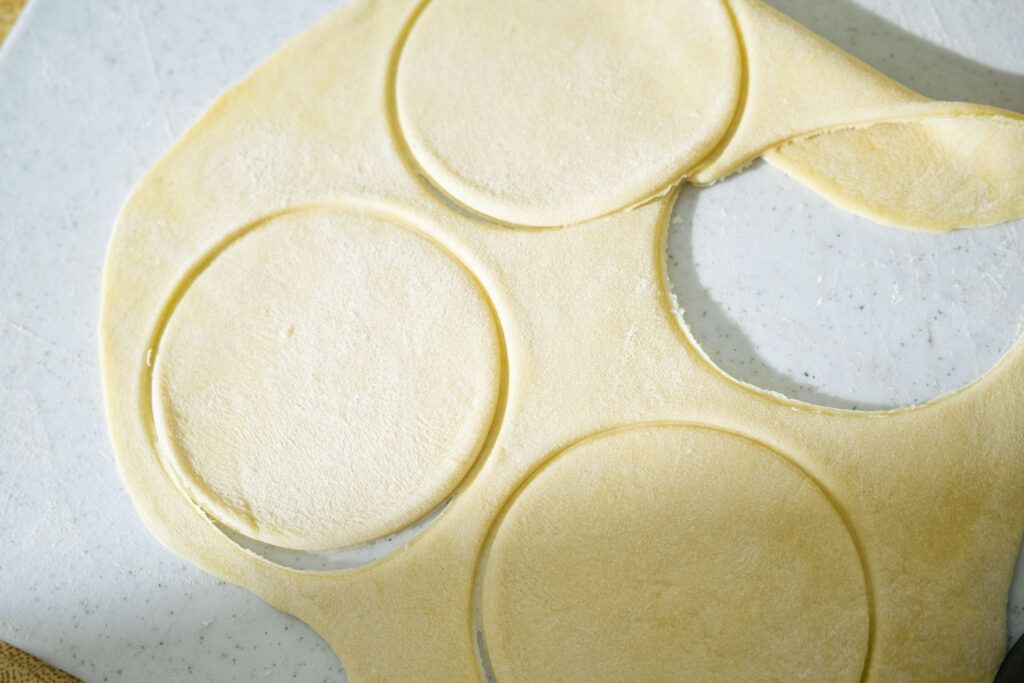
Divide the dough into two parts, working with one at a time. Roll dough out as thinly as you can, but not enough to see through or break, about ⅛ inch. Use a round shape (I used the top of a mason jar lid) to cut out circles.
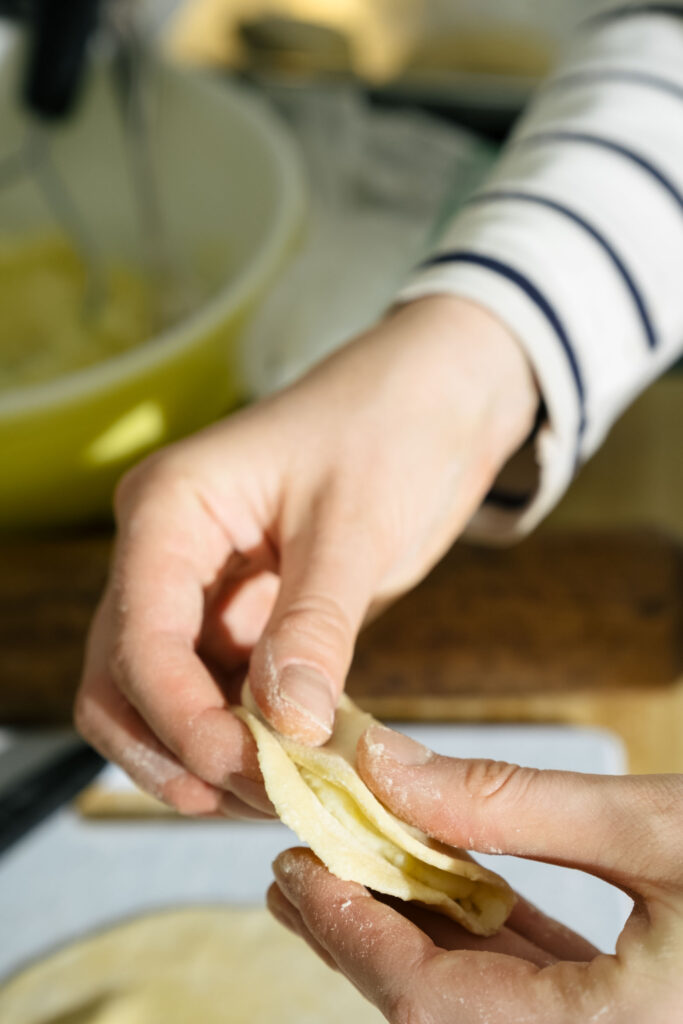
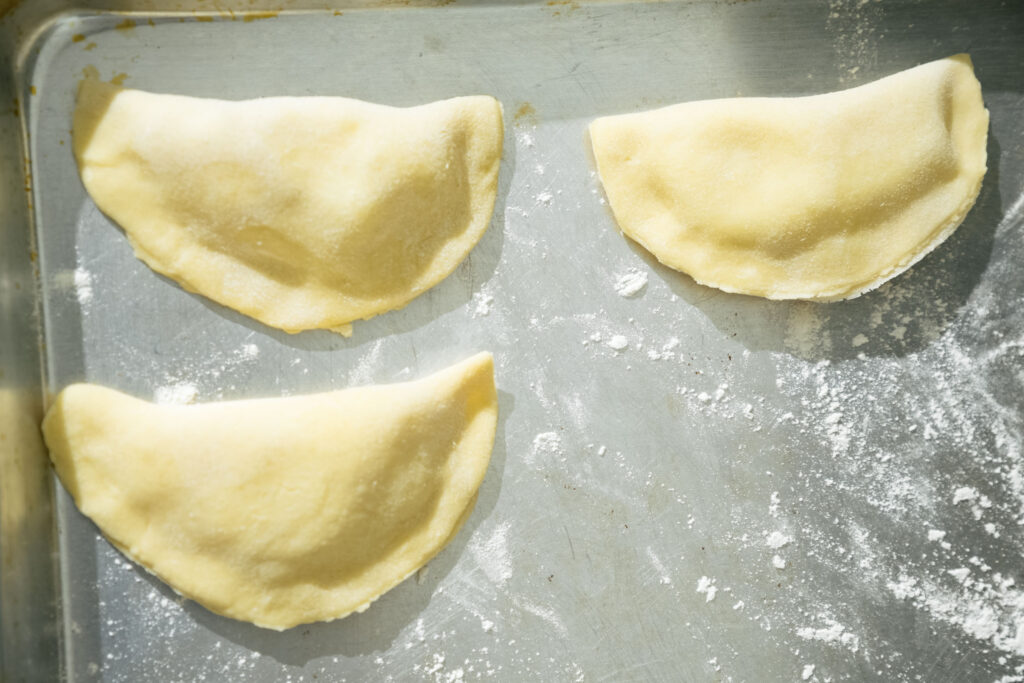
Spoon about a tablespoon of filling into the center of the circle, dip your finger in a bowl of water and run it along one side of the circle. Fold one side over the other side and pinch it closed. Wetting the edges helps the dough meld together.
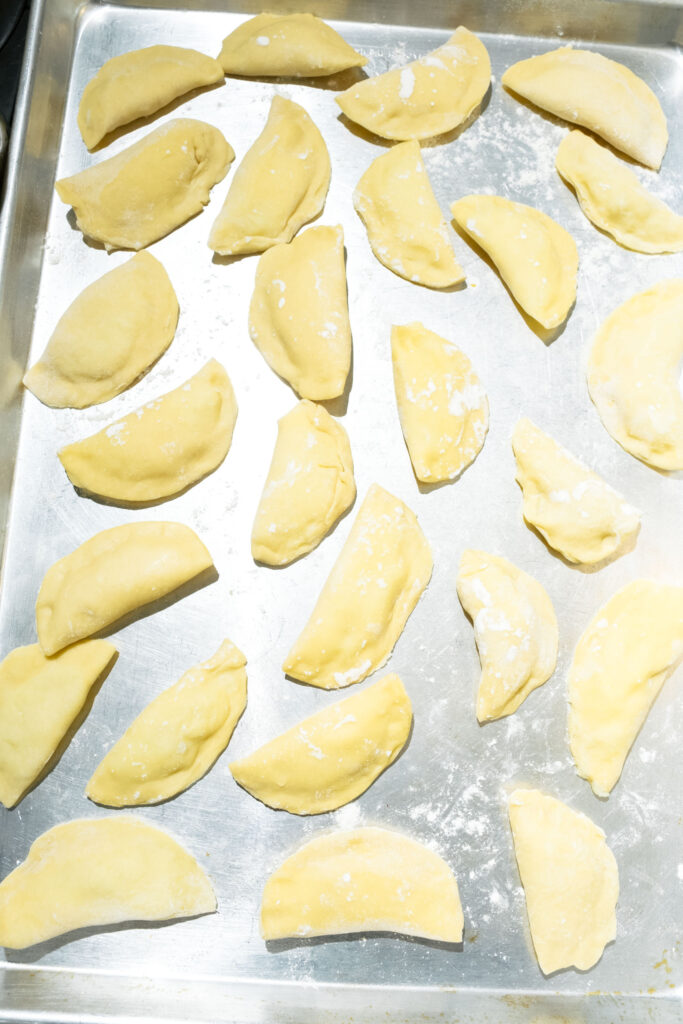
Place the pinched pierogies on a baking sheet dusted with flour and let sit for 5-10 minutes to dry out a bit before cooking.
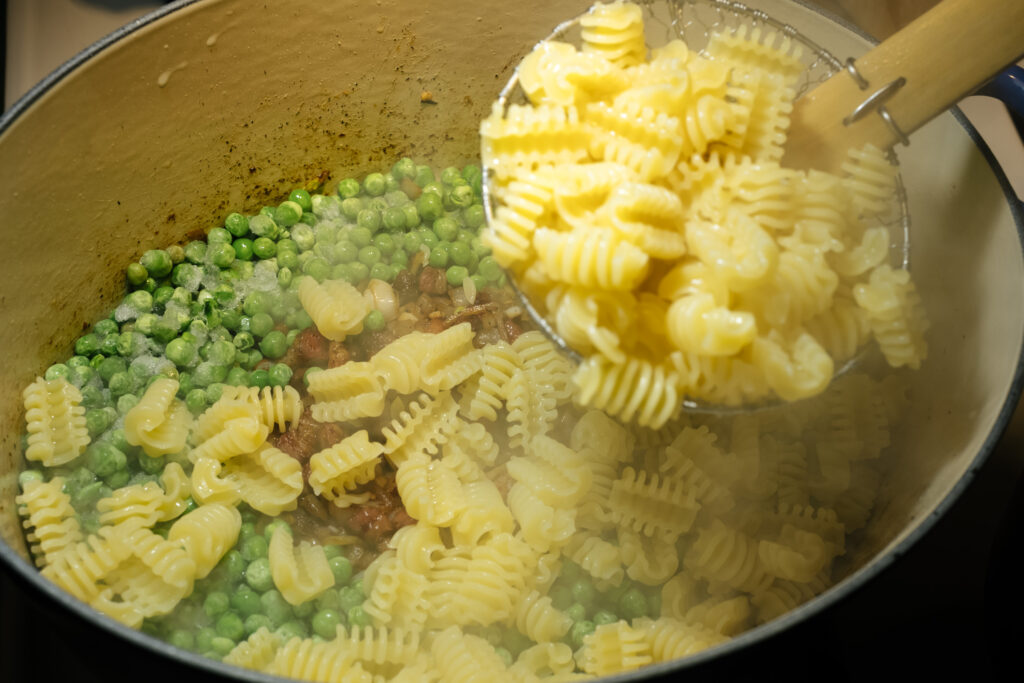
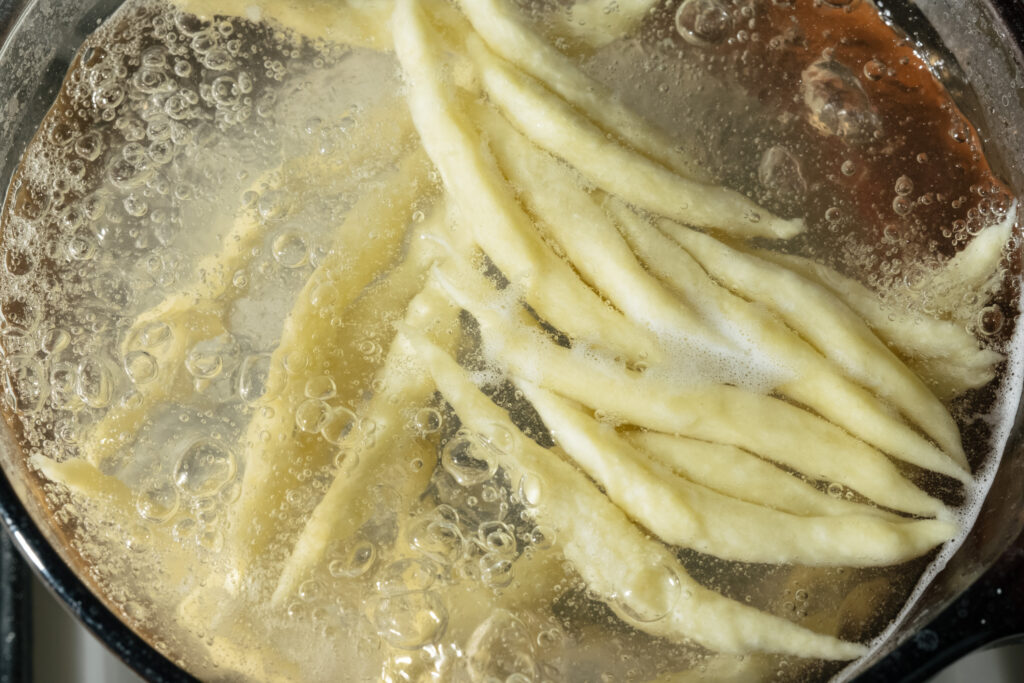
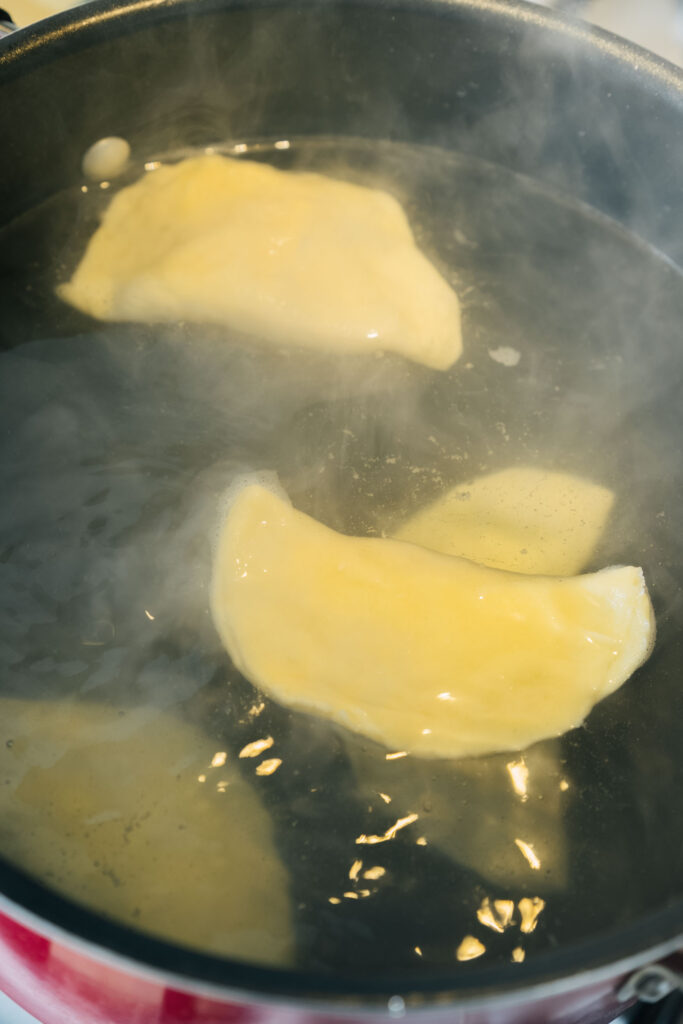
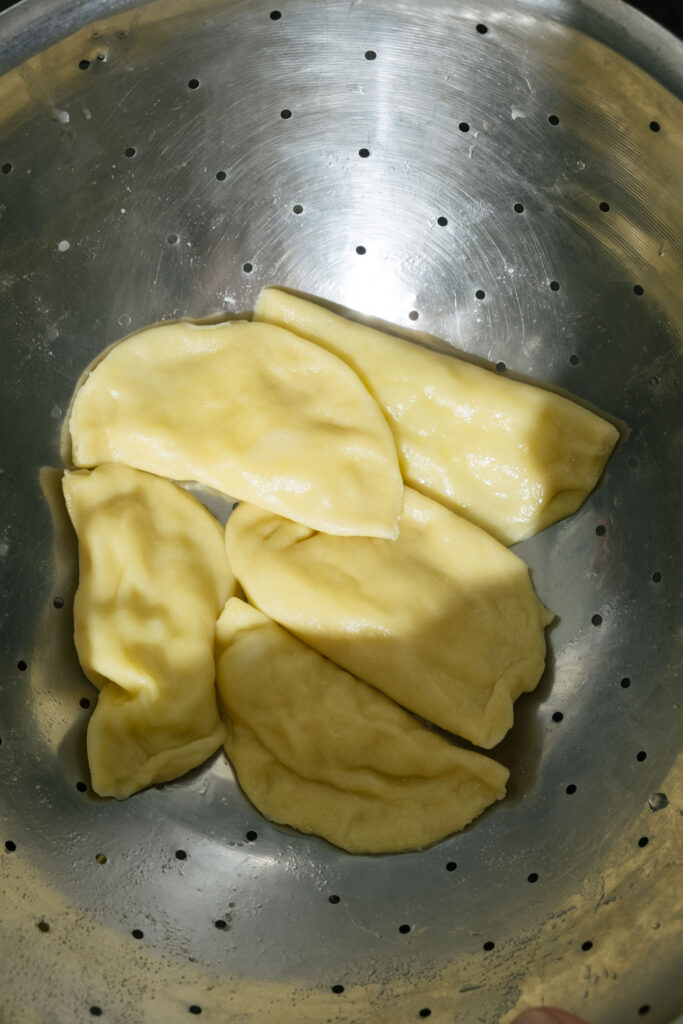
Bring a pot of salted water to a boil. Boil each pierogi for 2-4 minutes, the pierogies will float to the top when they are finished cooking.
sauce steps
Heat the butter over medium-low heat. As it slowly melts, place the sage leaves flat along the melted butter and swirl the pan around to coat the leaves. Let the butter become infused by the sage leaves by allowing it to cook for 7 minutes, swirling the pan every so often to ensure even distribution of heat on the leaves.
Raise the heat to medium and cook for another 4 minutes. Then raise the heat to medium-high and place as many pierogies as you can in the pan, while making sure not to overcrowd it. Cook each pierogi for 3-4 minutes on the first side, then flip and cook for another 3-4 minutes on the other side. Place the cooked pierogies on a large plate or platter and repeat until all the pierogies have been cooked.
Once the pierogies are finished cooking, pour the remaining butter sauce over the top of the platter, making sure to evenly distribute butter and sage over each of the pierogies, then enjoy!