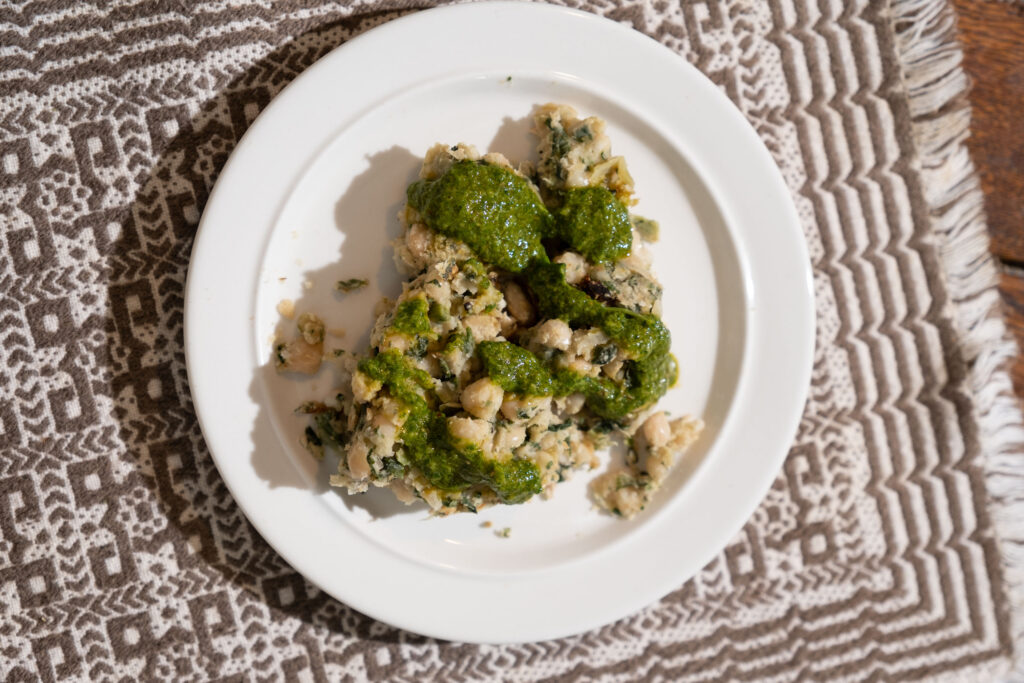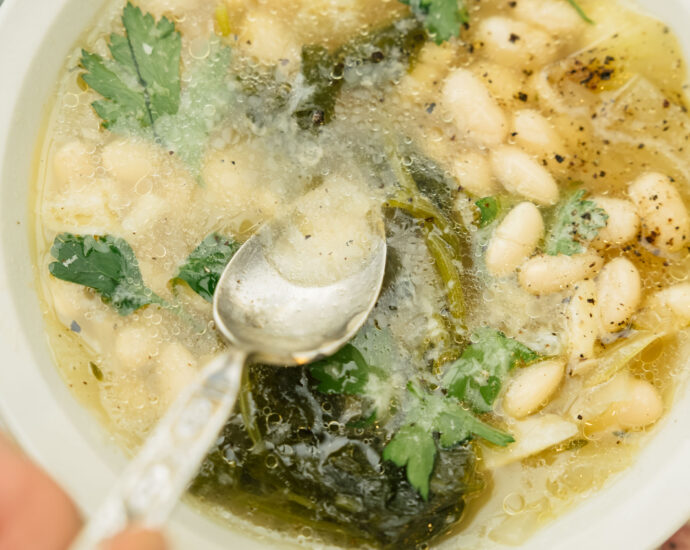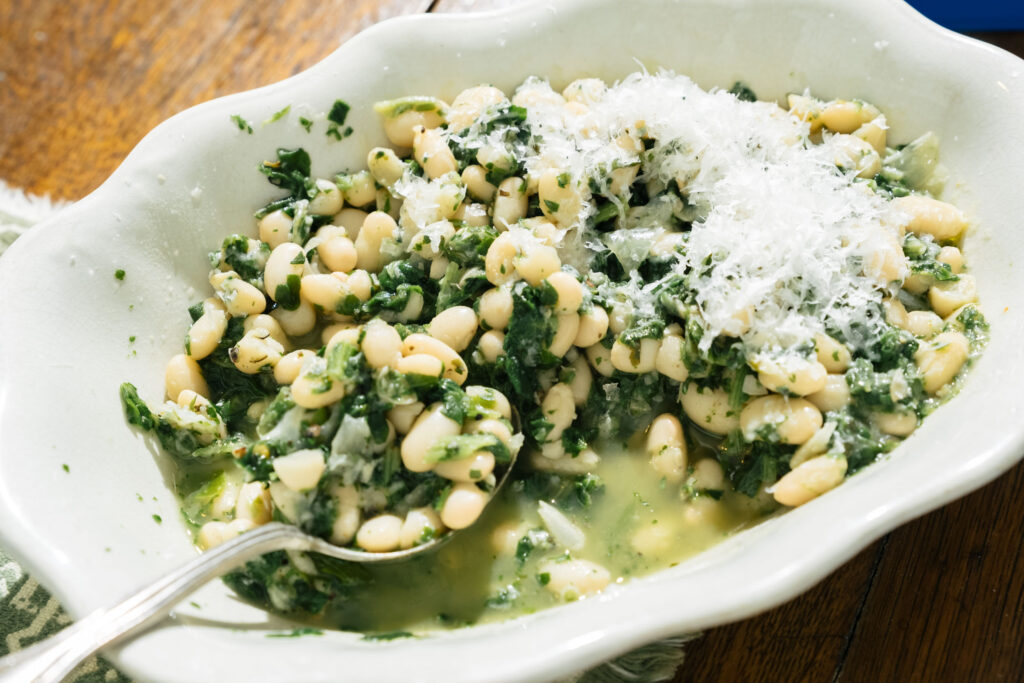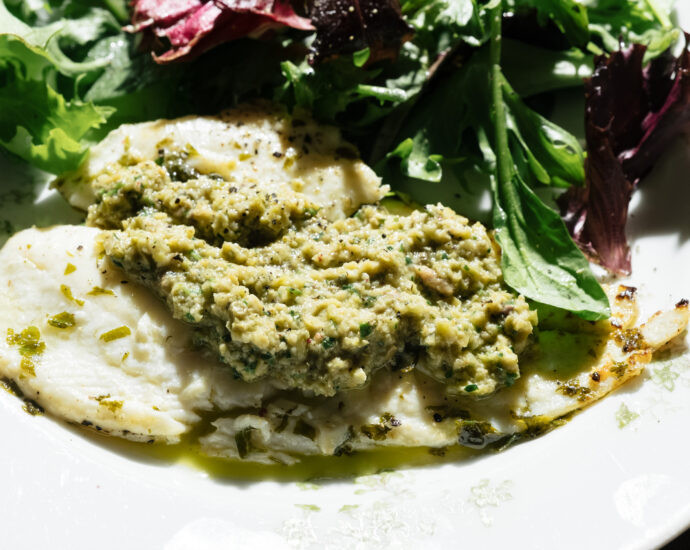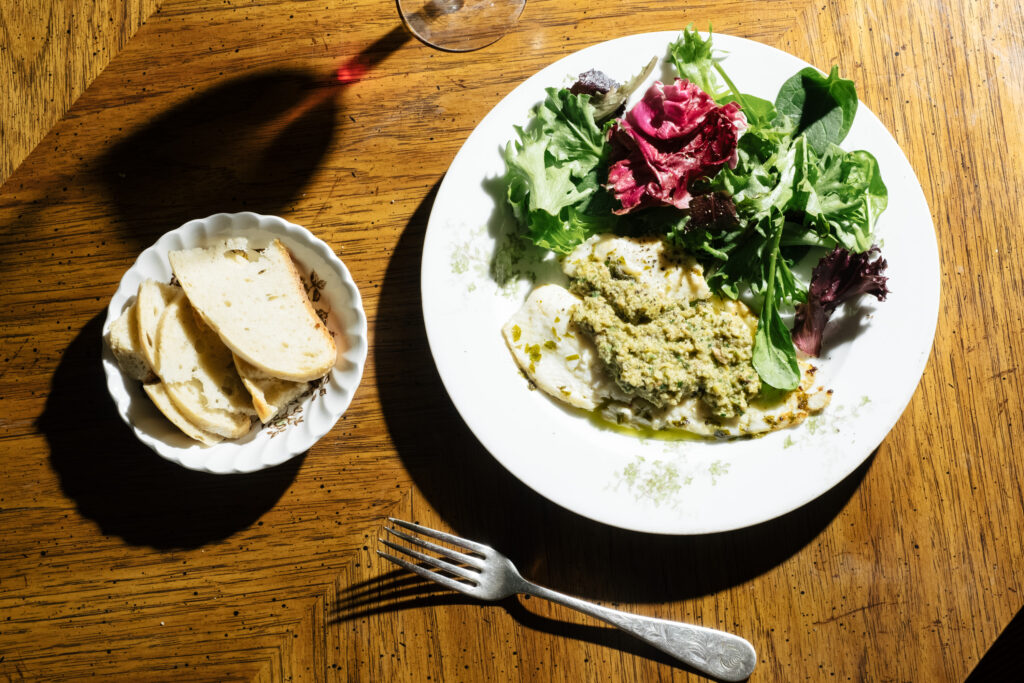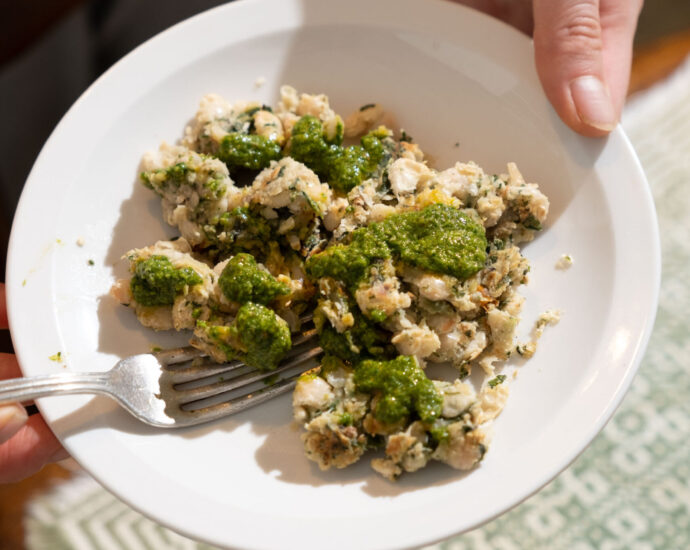
refried white beans with chermoula
Chermoula is a fragrant condiment from North Africa which is typically made of garlic, fresh herbs (parsley, cilantro, mint), lemon, and spices. It is traditionally served with fish, but it works really well when drizzled on vegetables or meat. Refried white beans with chermoula could not be easier to prepare and are packed with bright flavor.
The crisp white beans, enhanced with the vibrant herbs, punch of lemon, and hint of spice in the chermoula are a sensory thrill. Throw these refried white beans with chermoula together when you don’t know what to eat, and enjoy the burst of texture and aromas.
ingredients
for the beans
- 1 can white beans (cannellini, great northern, navy), drained and rinsed
- 2 tablespoons olive oil
- 1 garlic clove, minced
- 1 teaspoon salt
- ½ teaspoon freshly ground black pepper
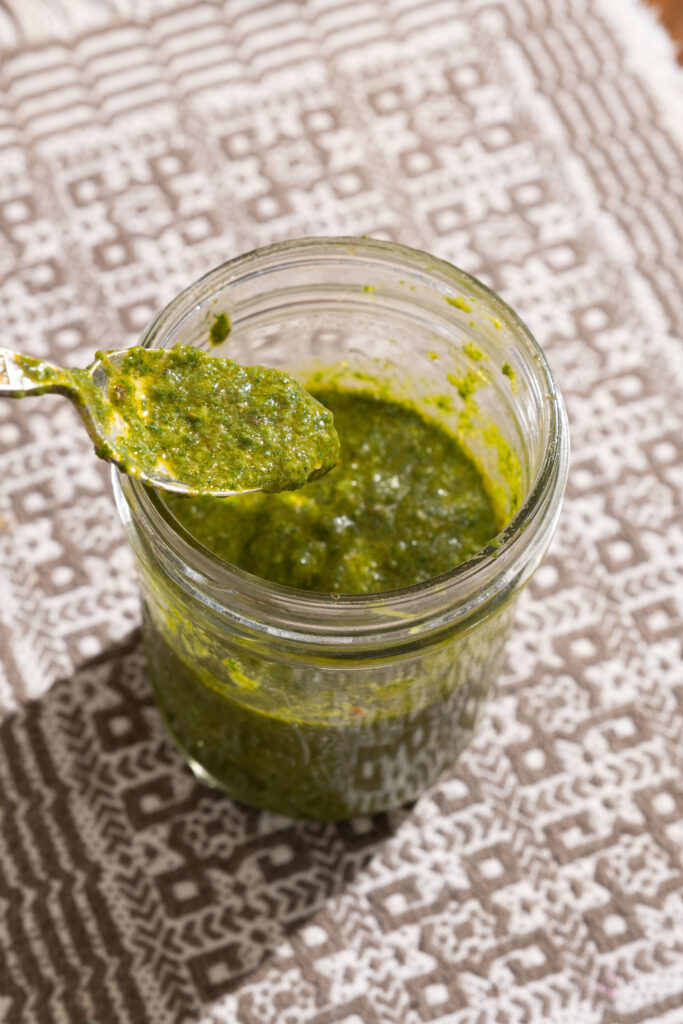
for the chermoula
- ½ teaspoon coriander seeds
- ½ teaspoon cumin seeds
- 2 garlic cloves
- ¼ cup extra-virgin olive oil
- ½ teaspoon finely grated lemon zest
- 2 tablespoons fresh lemon juice
- ½ teaspoon smoked paprika
- ½ teaspoon kosher salt
- ¼ teaspoon crushed red pepper
- ½ cup parsley leaves and stems, packed
- ½ cup cilantro leaves and stems, packed
- ¼ cup mint leaves
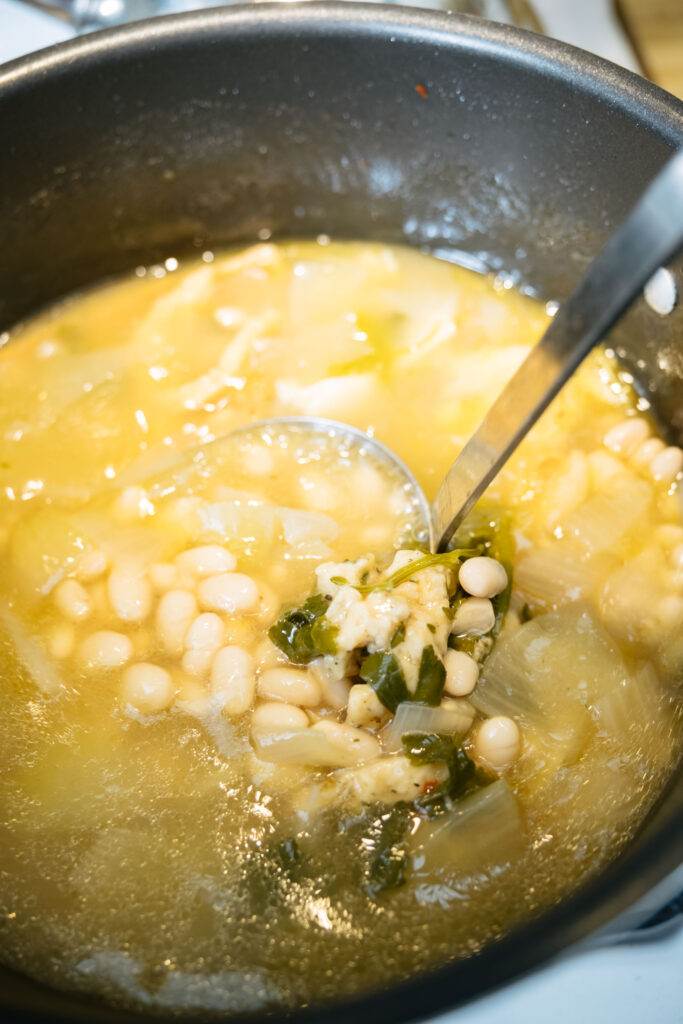
beans steps
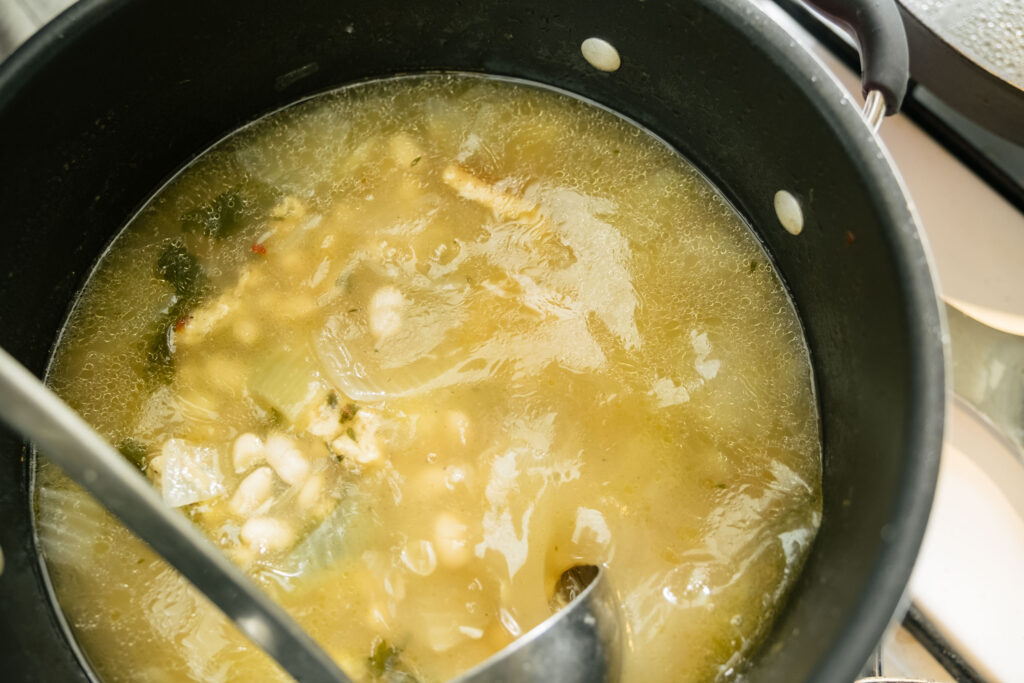
Heat the olive oil in a large skillet (I use cast iron) over medium-high heat. Add the garlic and cook until just golden, about 2 minutes. Add the beans and lightly mash them using a potato masher or a fork. Let cook for another 5 minutes until the bottom layer of beans is golden. Flip the beans over in the skillet and cook for another 5 minutes on the other side. Feel free to cook longer for even more crisp!
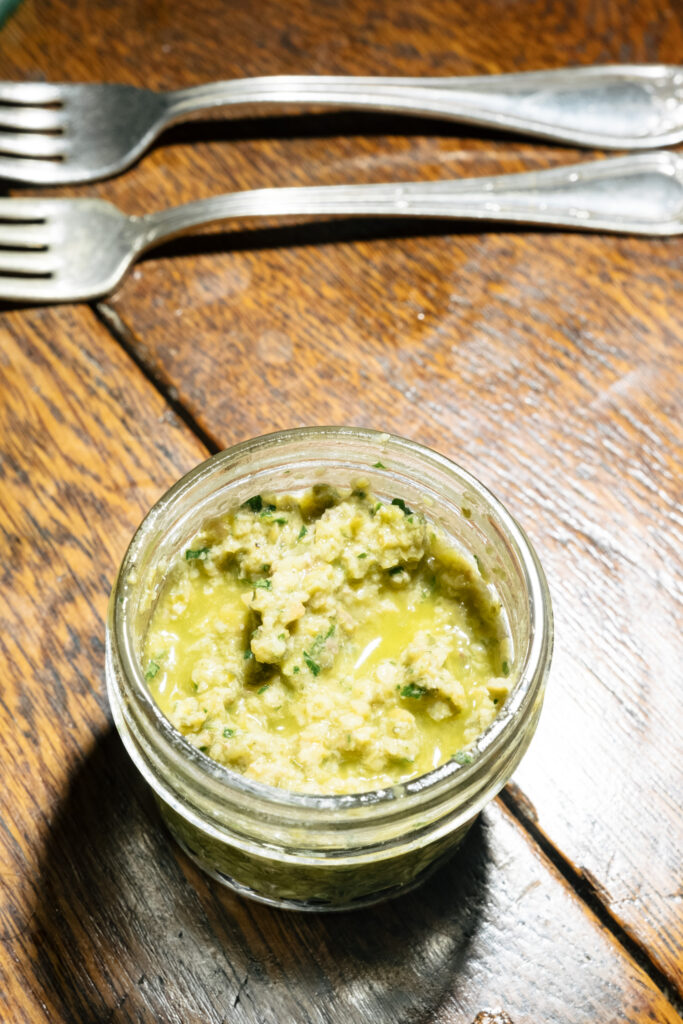
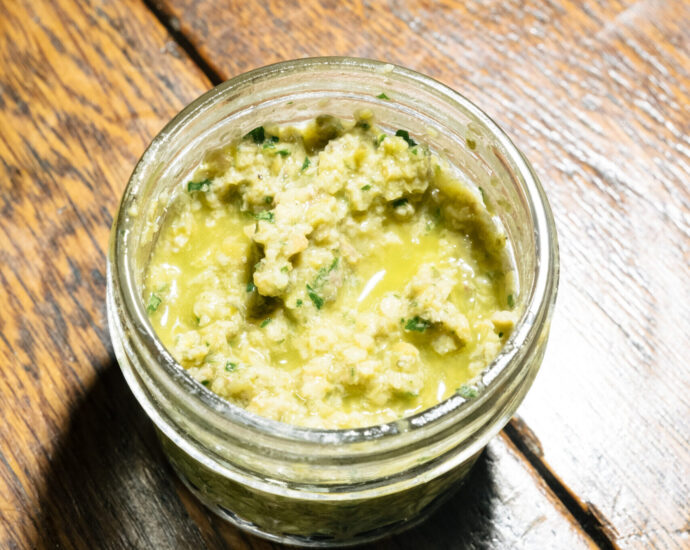
chermoula steps
Place the coriander and cumin seeds in a saucepan and toast for 7-10 minutes until nutty and fragrant. Crush or add to a spice grinder. Add the toasted seeds, garlic cloves, olive oil, lemon zest, lemon juice, smoked paprika, kosher salt, and crushed red pepper to a food processor or blender. Blend for a few minutes until evenly combined. Add the parsley, cilantro, and mint and process until smooth. Drizzle chermoula over the beans and serve immediately!